skills/iblai/vibe/iblai-chat

iblai-chat

SKILL.md

/iblai-chat

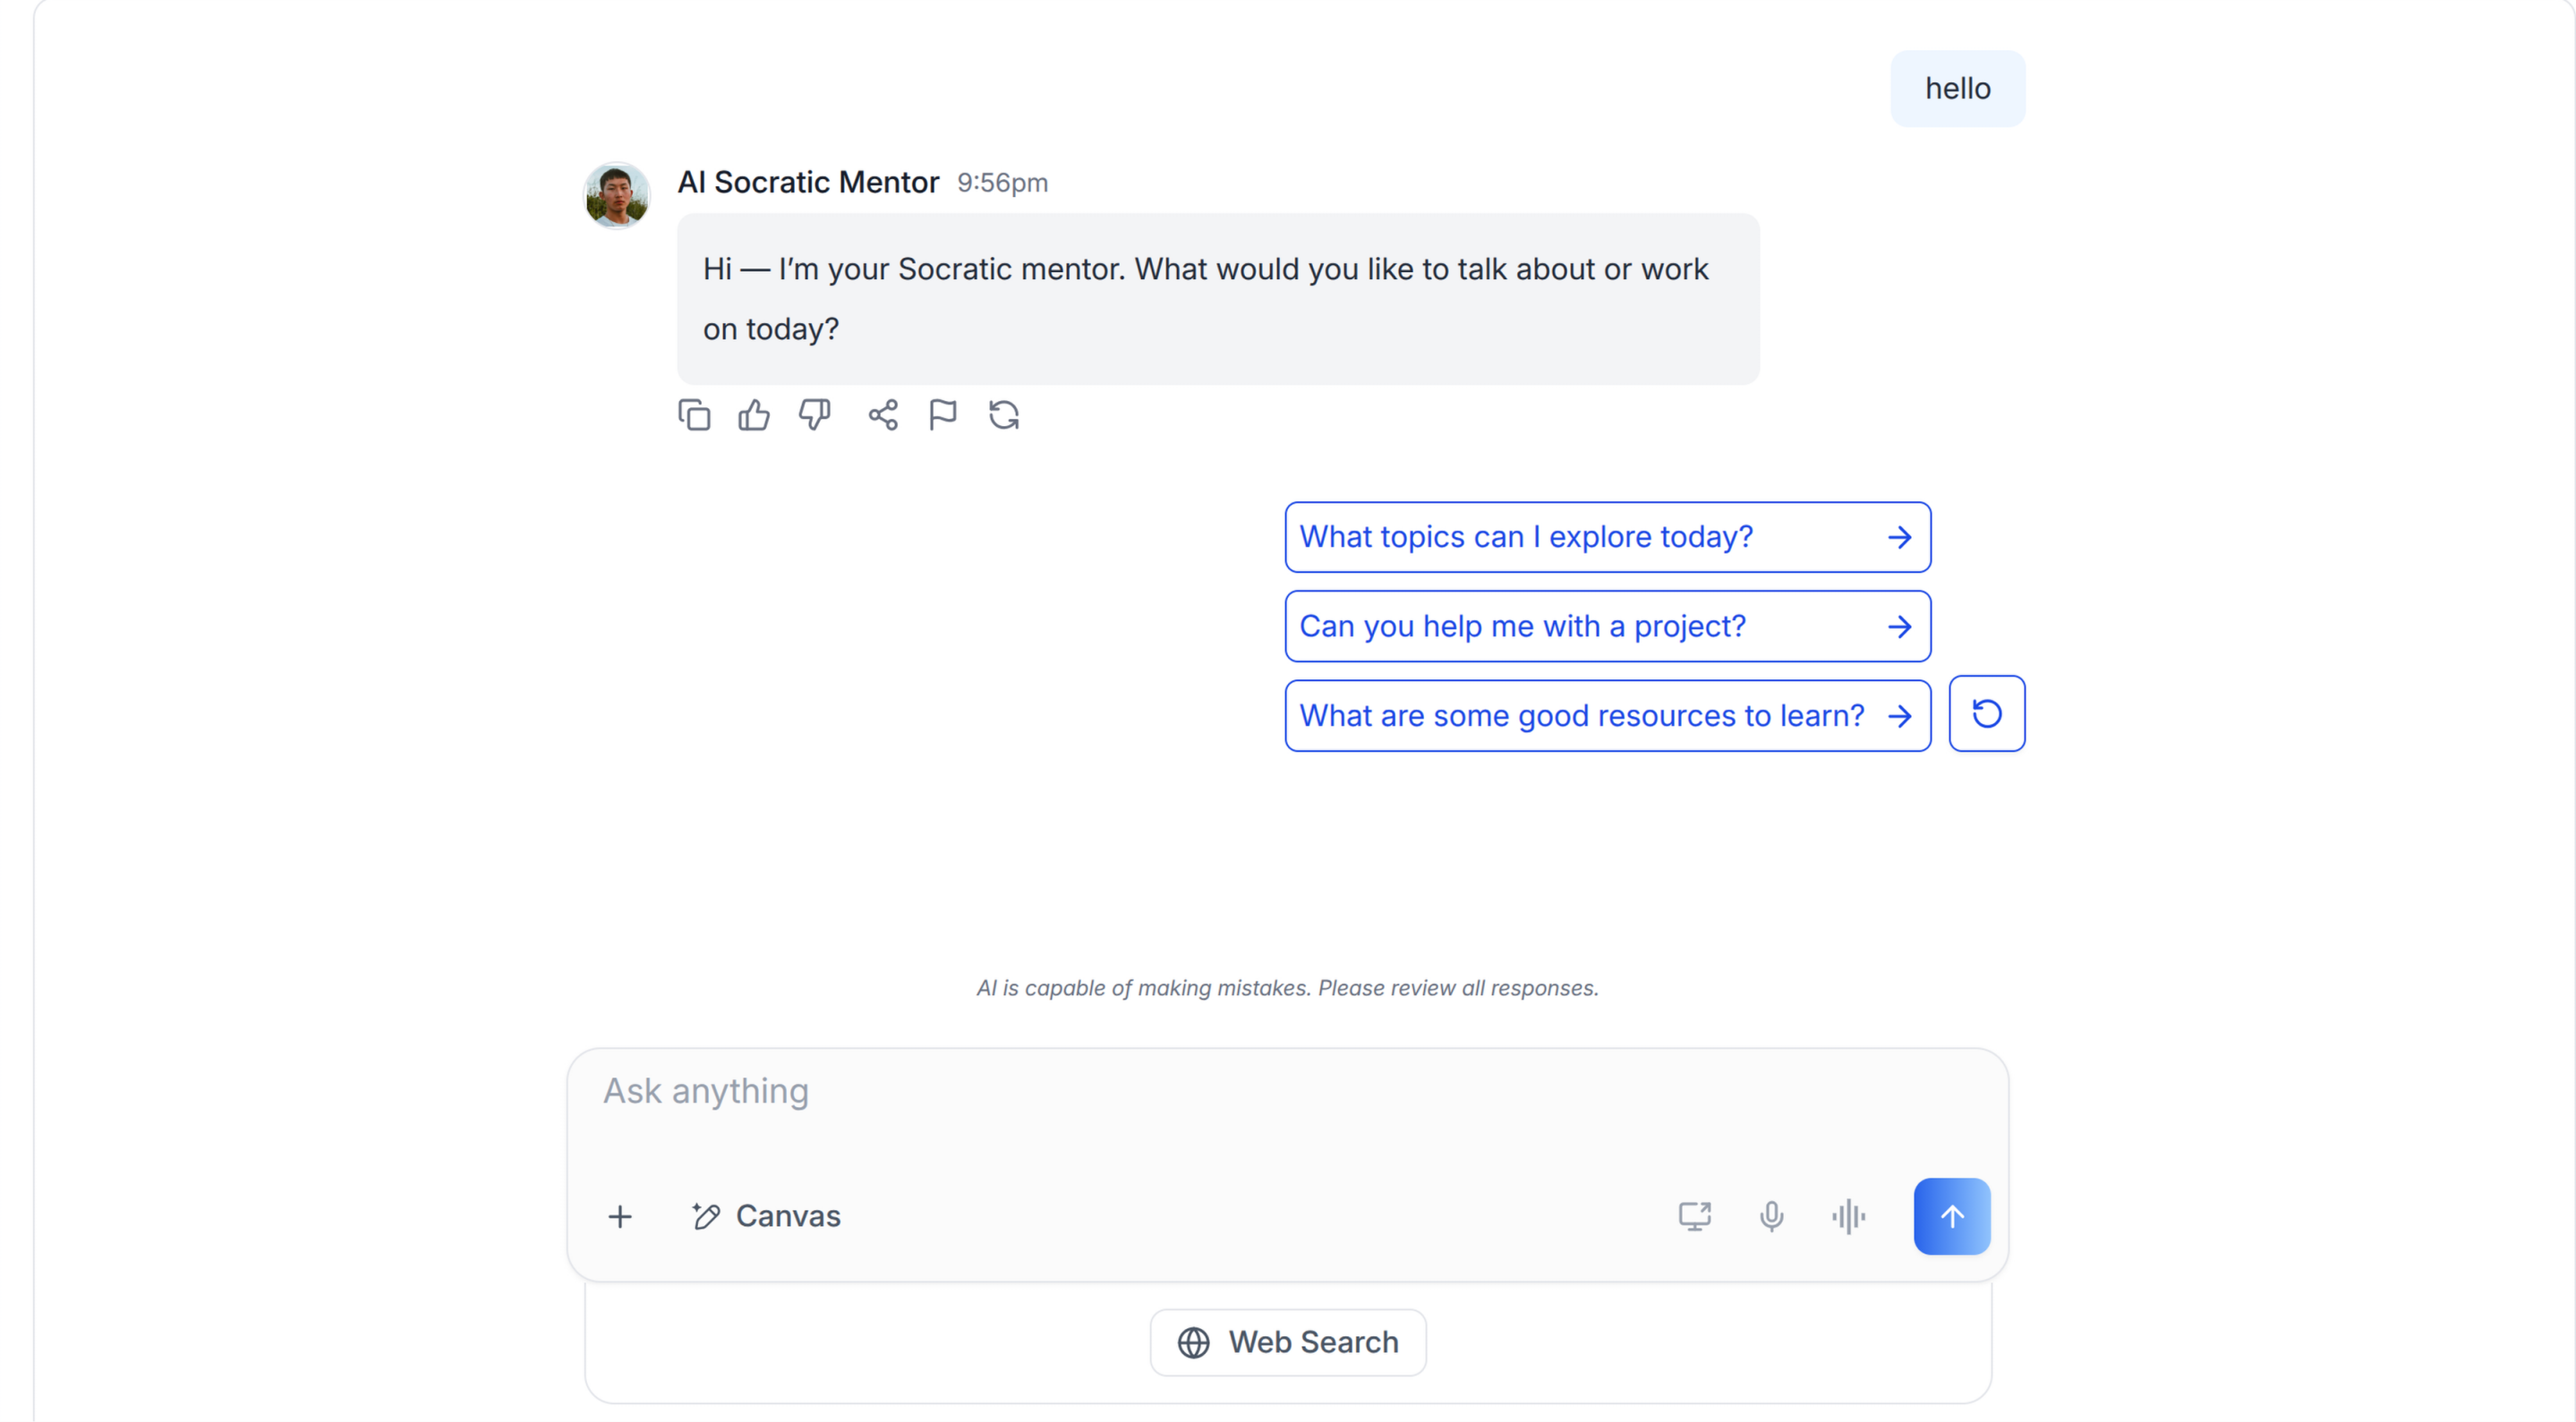
Add an AI chat widget powered by ibl.ai mentors. Uses the <mentor-ai> web component with streaming, session management, and authentication handled automatically.

Chat Page

AI Assistant: Before running iblai add chat, you MUST ask the user for their agent/mentor ID (a UUID like 3f8a1b2c-4d5e-6f7a-8b9c-0d1e2f3a4b5c). This is required for the chat widget to connect to an AI agent.

If the user does not have an agent ID, direct them to https://mentorai.iblai.app to create an AI agent. They can find the agent ID in the agent settings page.

Once you have the ID, set it in .env.local:

NEXT_PUBLIC_DEFAULT_AGENT_ID=<the-uuid-they-gave-you>

Do NOT add custom styles, colors, or CSS overrides to the ChatWidget. It ships with its own styling. Keep the component as-is. Do NOT implement dark mode unless the user explicitly asks for it.

When building custom UI around the chat widget, use the ibl.ai brand:

  • Primary: #0058cc, Gradient: linear-gradient(135deg, #00b0ef, #0058cc)
  • Button: bg-gradient-to-r from-[#2563EB] to-[#93C5FD] text-white
  • Font: System sans-serif stack, Style: shadcn/ui new-york variant
  • Use shadcn components for custom UI -- they share the same Tailwind theme and render in ibl.ai brand colors automatically.

You MUST run /iblai-test before telling the user the work is ready.

Prerequisites

  • Auth must be set up first (/iblai-auth)
  • iblai CLI available (iblai --version). See /iblai-auth prerequisites for installation.
  • An agent/mentor ID from the user's ibl.ai platform (a UUID -- get one at https://mentorai.iblai.app)

Step 0: Check for CLI Updates

AI Assistant: Before running any iblai command, check for updates. Run iblai --version to get the current version, then check the latest:

  • PyPI: curl -sf https://pypi.org/pypi/iblai-app-cli/json | python3 -c "import sys,json; print(json.load(sys.stdin)['info']['version'])"
  • npm: npm view @iblai/cli version 2>/dev/null
  • GitHub (binary installs): curl -sf https://api.github.com/repos/iblai/iblai-app-cli/releases/latest | python3 -c "import sys,json; print(json.load(sys.stdin)['tag_name'].lstrip('v'))"

If a newer version exists, update:

  • pip: pip install --upgrade iblai-app-cli
  • npm: npm install -g @iblai/cli@latest
  • Binary: download the latest release from https://github.com/iblai/iblai-app-cli/releases/latest for the current platform and replace the binary

Step 1: Get Agent ID from User

Ask the user for their agent/mentor ID. This is a UUID that identifies the AI agent the chat widget will connect to.

Set it in .env.local:

NEXT_PUBLIC_DEFAULT_AGENT_ID=<agent-uuid-from-user>

Or use the CLI:

iblai config set NEXT_PUBLIC_DEFAULT_AGENT_ID <agent-uuid-from-user>

Step 2: Run the Generator

iblai add chat

The generator creates the chat widget component and patches the Redux store to include chat-specific reducers.

What Was Generated

File Purpose
components/iblai/chat-widget.tsx <mentor-ai> web component wrapper with auth token delivery

The ChatWidget reads axd_token, tenant, and userData from localStorage and passes them to the MentorAI iframe via authrelyonhost mode.

Step 3: Use the Widget

import { ChatWidget } from "@/components/iblai/chat-widget";

// Full viewport (recommended)
<ChatWidget mentorId={process.env.NEXT_PUBLIC_DEFAULT_AGENT_ID!} width="100vw" height="100vh" />

// Custom viewport-relative dimensions
<ChatWidget mentorId="..." width="80vw" height="90vh" />

// Or hardcode an agent ID (useful for multi-agent pages)
<ChatWidget mentorId="3f8a1b2c-4d5e-6f7a-8b9c-0d1e2f3a4b5c" width="100vw" height="100vh" />

Props

Prop Type Default Description
mentorId string (required) Agent/mentor UUID -- ask the user for this
tenantKey string from .env Override tenant key (defaults to NEXT_PUBLIC_MAIN_TENANT_KEY)
theme "light" | "dark" "light" Color theme
width number | string 720 Widget width -- use vh/vw strings (e.g., "100vw")
height number | string 600 Widget height -- use vh/vw strings (e.g., "100vh")

Step 4: Verify

Run /iblai-test before telling the user the work is ready:

  1. npm run build -- must pass with zero errors
  2. npm run test -- vitest must pass
  3. Start dev server and touch test:
    npm run dev &
    npx playwright screenshot http://localhost:3000 /tmp/home.png
    

Detailed Guide

For the complete implementation reference: https://github.com/iblai/iblai-app-cli/blob/main/skills/components/iblai-add-chat.md

Brand guidelines: BRAND.md

Weekly Installs
11
Repository
iblai/vibe
GitHub Stars
12
First Seen
5 days ago
Installed on
opencode11
deepagents11
antigravity11
github-copilot11
codex11
amp11